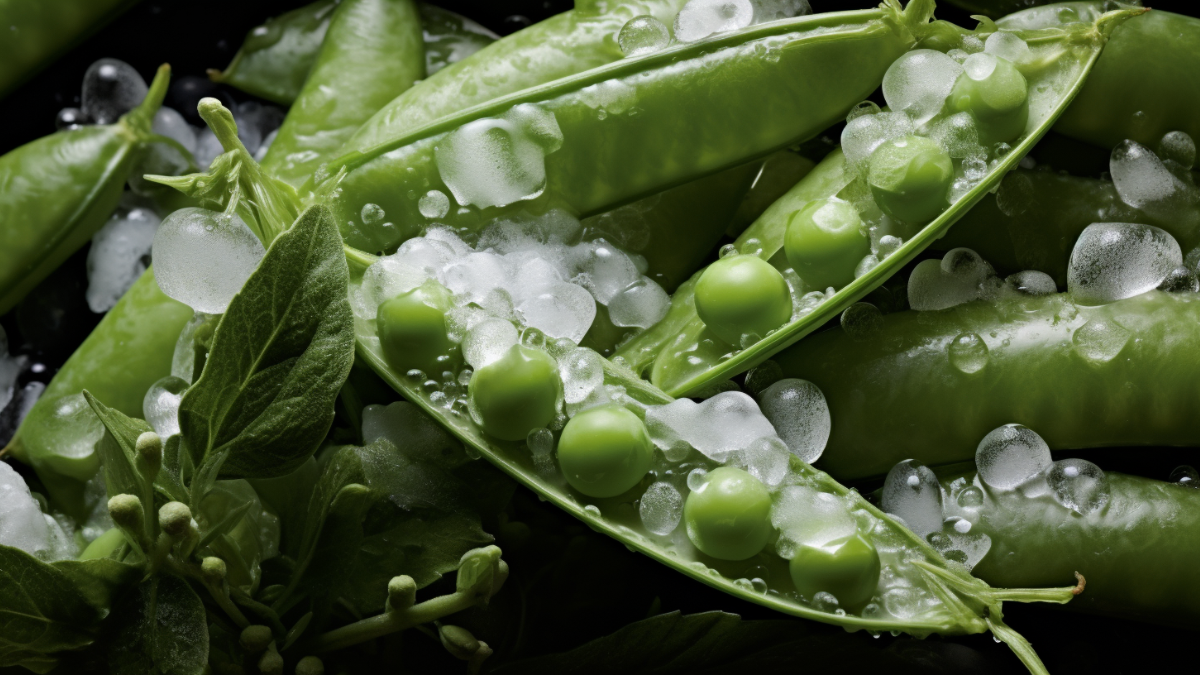
Ah, the delight of stepping into your garden and harvesting fresh, plump peas. There’s something undeniably satisfying about growing your own produce, savoring the sweetness of homegrown peas. However, as the harvest season peaks, you might find yourself with more peas than you can consume immediately. Don’t let this abundance go to waste! Freezing your garden peas is a fantastic way to preserve their flavor and goodness for later use. In this guide, we’ll explore the art of freezing garden peas and unlock the secrets to maintaining that garden-fresh taste all year round.
Why Freeze Garden Peas?
Before we delve into the freezing process, let’s understand why it’s a preferred preservation method for garden peas.
– Retains Freshness: Freezing preserves the natural freshness, color, and nutritional value of peas, locking in their peak flavor.
– Convenient and Versatile: Frozen peas can be conveniently used in various dishes, from soups and stews to salads and stir-fries.
– Reduces Food Waste: By freezing excess peas, you can reduce food waste and enjoy the fruits of your labor throughout the year.
Preparing Peas for Freezing
Harvest and Shelling
When your pea pods have plumped up and their color is vibrant, it’s time to harvest. Use a pair of garden shears to snip the pea pods from the vine gently. Once you’ve collected your harvest, it’s time to shell the peas. Simply run your thumb along the seam of the pod to split it open, revealing the peas nestled inside.
Blanching: The Secret to Perfectly Preserved Peas
Preserving Flavor and Texture
Blanching is a crucial step in freezing peas, as it helps retain their color, texture, and nutritional value. The process involves briefly boiling the peas and then rapidly cooling them.
– Boil a large pot of water and add a pinch of salt.
– Carefully add the shelled peas to the boiling water and blanch them for about 1 to 2 minutes.
– Prepare an ice bath by filling a large bowl with cold water and ice cubes.
– Using a slotted spoon, transfer the blanched peas to the ice bath to halt the cooking process.
– Allow the peas to cool in the ice bath for about 2 minutes.
The Freezing Process
Bagging and Sealing
Now that your peas have been blanched and cooled, it’s time to prepare them for the freezer.
– Drain the peas from the ice bath and pat them dry with a clean kitchen towel.
– Spread the peas in a single layer on a baking sheet lined with parchment paper.
– Place the baking sheet in the freezer and flash-freeze the peas for about 1 to 2 hours. This step prevents the peas from sticking together during long-term storage.
– Once the peas are frozen, transfer them into freezer-safe bags or airtight containers. Label the bags with the date of freezing for easy reference.
Tips for Perfectly Frozen Peas
Seal in the Goodness
To ensure your frozen peas remain in top condition, consider these helpful tips:
– Use Freezer-Safe Bags: Opt for quality freezer bags or airtight containers to prevent freezer burn and maintain freshness.
– Portion Control: Freeze the peas in portion sizes that suit your cooking needs. This way, you can easily grab the required amount without thawing the whole batch.
– Avoid Overfilling: Leave some space in the bags or containers to allow for expansion during freezing.
– Label and Date: Clearly label each bag or container with the date of freezing to keep track of their shelf life.
Conclusion: A Taste of Summer, All Year Round
Freezing garden peas is a rewarding endeavor that allows you to savor the essence of your garden, even in the colder months. With proper blanching and freezing techniques, you can preserve the peak freshness and taste of your homegrown peas. So, don’t let any pea go to waste. Embrace the art of freezing, and enjoy a taste of summer all year round. Whether it’s a hearty soup, a vibrant stir-fry, or a refreshing salad, your garden peas will add a burst of flavor to every dish. Happy freezing and bon appétit!


