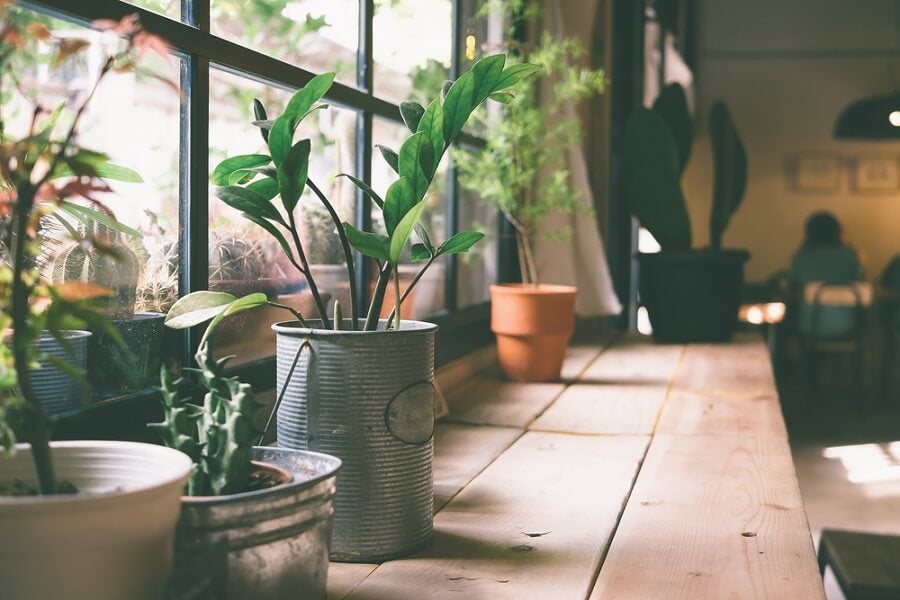
The pots are containers in which we place plants of all kinds, from small bonsai to palm trees. Its purpose is to give adequate support to the plant, whether indoors or outdoors. What you may not know is that you can make pots with recycled materials.

Although they can be purchased at any garden store and even in supermarkets; many times it is best to make our own pots, to our liking. Recycling can be a great and novel way of entrepreneurship for many.
After all, the ones they usually sell are the typical clay or red plastic pots and those sometimes do not fit in our decoration. Here we will show you some ideas to encourage you to get down to work and make your pots with recycled materials.
Pots made with cans.
The good thing about making pots with recycled materials from canning cans is that you avoid throwing away objects that still have utility. Surely, you have many cans at home and after using the products they contain, they are simply thrown away. They also come in various sizes and shapes, which is excellent for making different types of pot. In this way, your garden will be colorful without having to spend and, most importantly, you will give it your own style.
Materials:
- Cans of different sizes.
- 1 knife.
- Paper tape.
- Aerosol paints.
Elaboration.
- First, you are going to take the cans and you are going to make holes in the base. These allow you to drain the water you spray when you water the plants. This will prevent water from accumulating in the pot and rotting the plant.
- Then, with a spray paint (the color of your liking) you will paint the entire surface evenly.
- Let the paint dry for the time indicated on the spray.
- Next, you tape the paper vertically or horizontally.
- Then you paint with another color over the entire surface.
- Once dry, you remove the paper tape, add fertile soil and, of course, the plant you have selected.
Vintage pots from cans.
We will show you another technique to decorate with pots with recycled materials. If you like the old and the vintage, you cannot miss this beautiful technique. It consists of aging the can a little with paints. This gives it a romantic touch and at the same time, very nostalgic. Following a few simple steps you can make designs that will look like those from the early 20th century. They will look great on a balcony or in a corner of the patio.
Materials:
- Cans.
- Fine sandpaper.
- Piece of white candle.
- Sienna and antique white acrylic paints.
- Stamp with flower drawings or the motif of your choice.
- Primer base (to tint the can).
Elaboration.
- First, you take the can and make the holes in the floor. It is important because otherwise the plant will drown.
- Then, you mix a little primer with white acrylic.
- You paint the entire can inside and out (thus preventing it from rusting).
- Then you run the candle around the top and bottom edges. This is to give the worn effect. In the area that you passed the candle will not be painted.
- You paint with white acrylic.
- You can sand gently once it’s dry to give that worn look.
- You put sienna acrylic on the stamp and print it on the can.
- Finally, you can dab sienna paint on the edges for a better finish.
Pots with recycled materials from plastic bottles.
Plastic bottles are another material that you find easily in your house and, generally, in disuse. Therefore, to avoid accumulating objects, it is best to find a new use for them. You can make flower pots with recycled materials from plastic bottles.
Remember that plastics are a great environmental problem since they are not biodegradable. Therefore, if you recycle your bottles you will be helping to take care of the environment and you will also have beautiful pots made by yourself.
With your personal touch that is unique and unrepeatable. We will leave you three ideas so that later you can unleash your creativity when doing them.
Materials:
- Cutter or scissors.
- Black marker.
- Acrylic paintings.
- Plastic bottles of different sizes.
Pot with the bottom of the bottle.
- First, you take the bottles and draw two elongated triangles in the upper part like standing rabbit ears.
- You cut the plastic so that you have the two ears that stick out of the edge.
- Then you make the holes in the base of the bottle.
- You paint with white acrylic inside and out.
- Let it dry.
- You make the eyes, nose and mouth with marker.
- Next, add details with pink acrylic.
- You can also give it the shape of a cat, dog, and mouse. What your imagination tells you.
- The bottom of the bottles are like legs to which you can also add details.
Pot with the top.
- First, you are going to leave the caps on these bottles and there make some holes for the water to drain.
- Paint in strong colors and let dry.
- Add details with paint or markers.
- In the containers that have a handle you can use this as a nose.
- Then paint two large eyes on each side.
- Cover the entire bottle with drawings.
- You can nail it to a wall and thus form your vertical garden.
Pot using the whole bottle.
- First, you take the bottle with the cap on and lay it down.
- With a cutter you make a cavity in the part that is up to put the soil and plants.
- Then, you make holes in the part that is left on the floor.
- You can hang it or leave it resting on the floor.
Being able to make your own pots from recycled materials has many benefits such as reusing products that would otherwise pollute the environment more.
In addition, your creative part arises and your mind is distracted and stress decreases, while you decorate your home. You also connect with nature and take care of plants. So go ahead and make your own pots.


